🏠 Storm Recovery · Step-by-Step Guide
Storm Water Damage
Cleanup Guide
How to remove flooded drywall, kill mold, sanitize surfaces, and dry out your home before contractors arrive — with the tools you need to do it right.

How to remove flooded drywall, kill mold, sanitize surfaces, and dry out your home before contractors arrive — with the tools you need to do it right.
Walk through every affected room with your phone camera recording before moving or removing anything. This video is your most powerful tool in an insurance dispute. Photograph every wall, floor, appliance, and piece of furniture. Get the timestamp in the frame by showing a clock or using a time-stamping app.
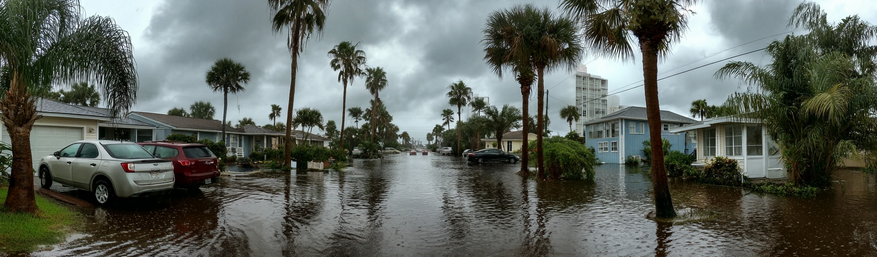
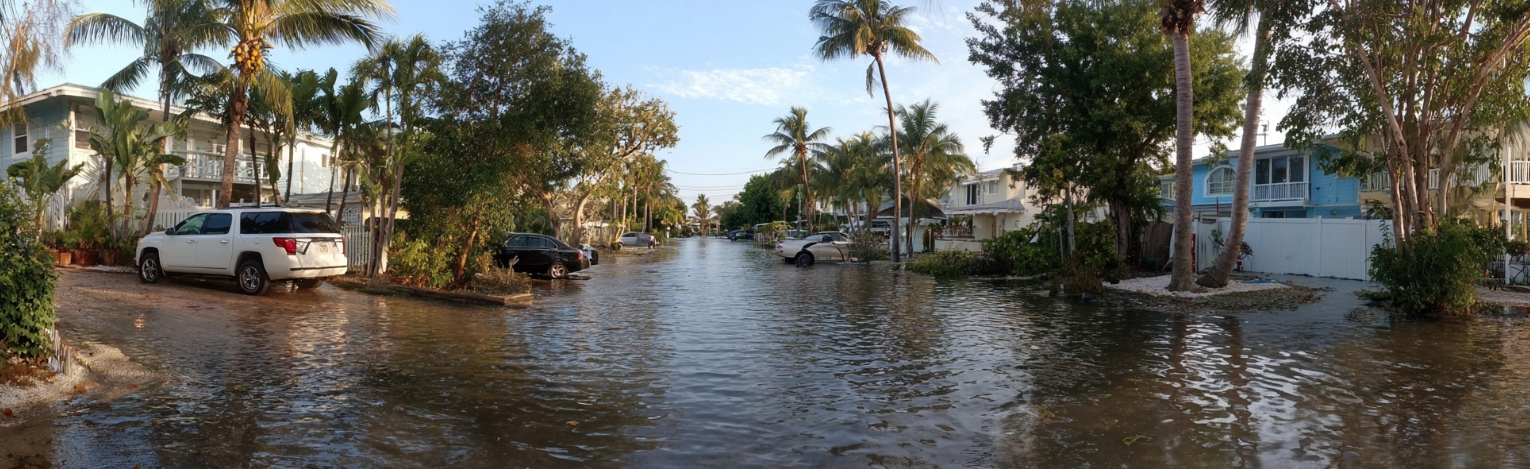
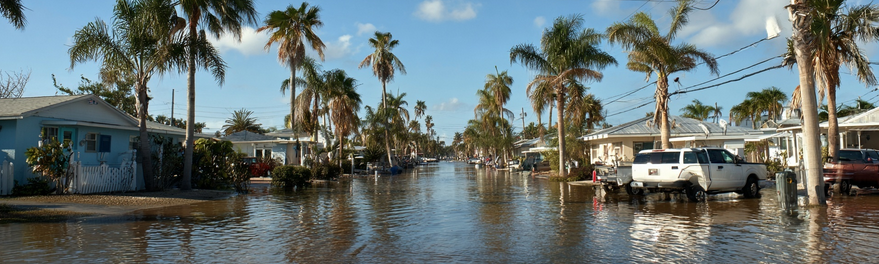
Every hour standing water sits on your floor, it wicks into drywall, wood framing, insulation, and subflooring. After 24 hours, materials that might have been salvageable become total losses. In Florida's heat and humidity, mold can begin colonizing saturated materials within 48 hours of flooding.
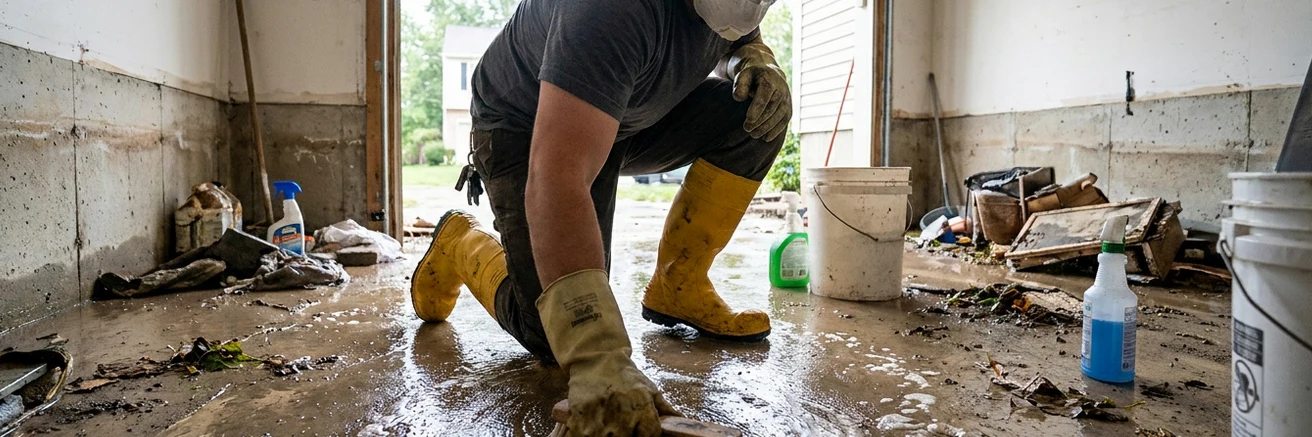
The goal in the first 6 hours is simple: get as much water out as physically possible and start the air moving.
Do not enter a flooded structure until the electricity is confirmed off at the breaker panel or meter. Flood water and live outlets are deadly. Check for structural damage, gas smell, and downed lines before entering. Wear rubber boots and waterproof gloves from the moment you step inside.
A wet/dry shop vac handles the first stage on hard floors and low-pile carpet. For deeper water (2+ inches), a submersible sump pump moves far more volume faster — attach a garden hose and run it outside. Empty the shop vac frequently — a full tank is heavy and slows you down.
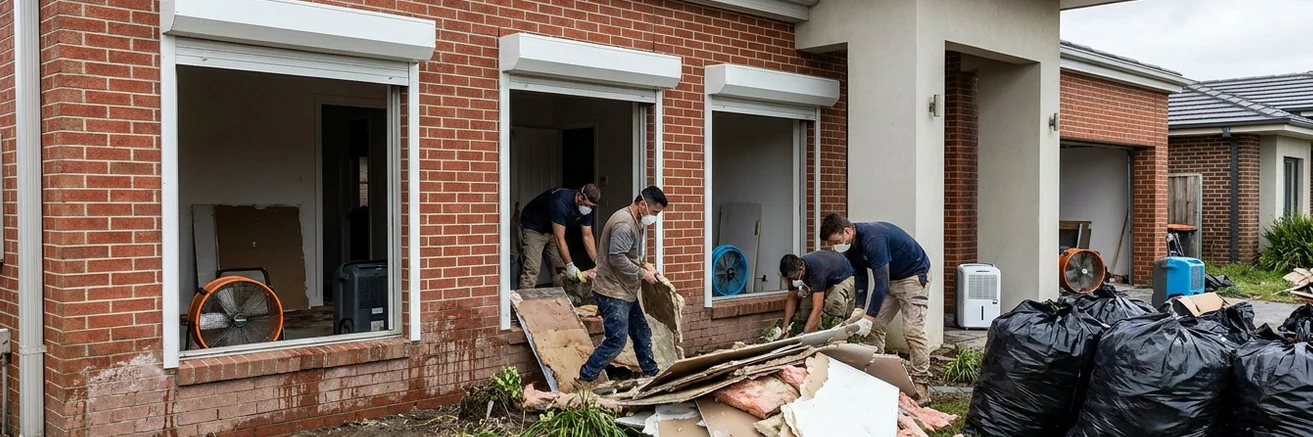
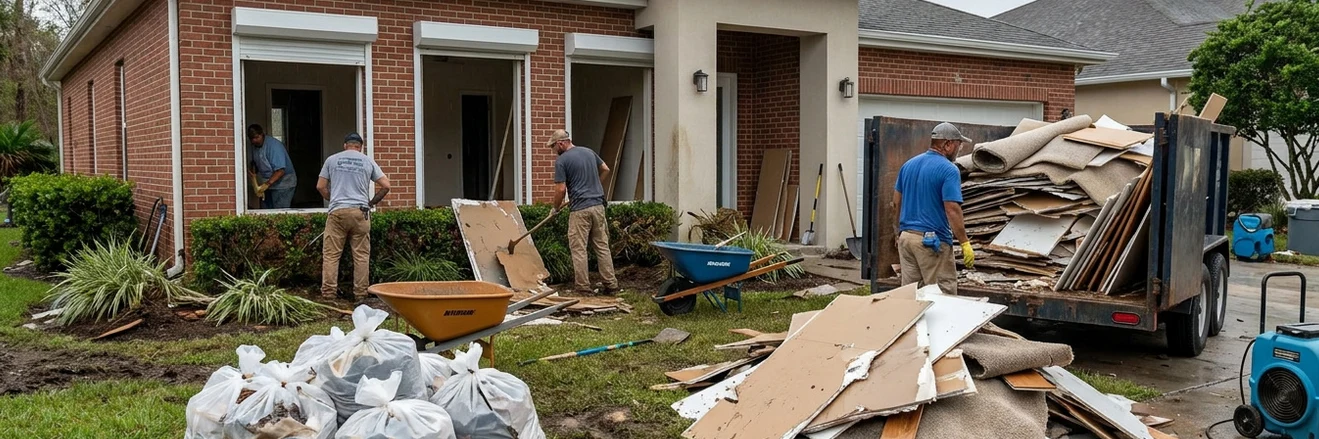
Get everything off wet floors immediately. Furniture legs wick water up into wood and upholstery. Wet rugs and carpet padding are mold farms — remove and discard any rug that was fully submerged. Furniture can sometimes be salvaged if dried within 24 hours.
Open every window and door that isn't exposing rain. Point fans across wet floors toward doorways to push humid air out. High-velocity air movers (rental equipment) move far more air than household fans and dramatically cut drying time. Run continuously — not just during the day.
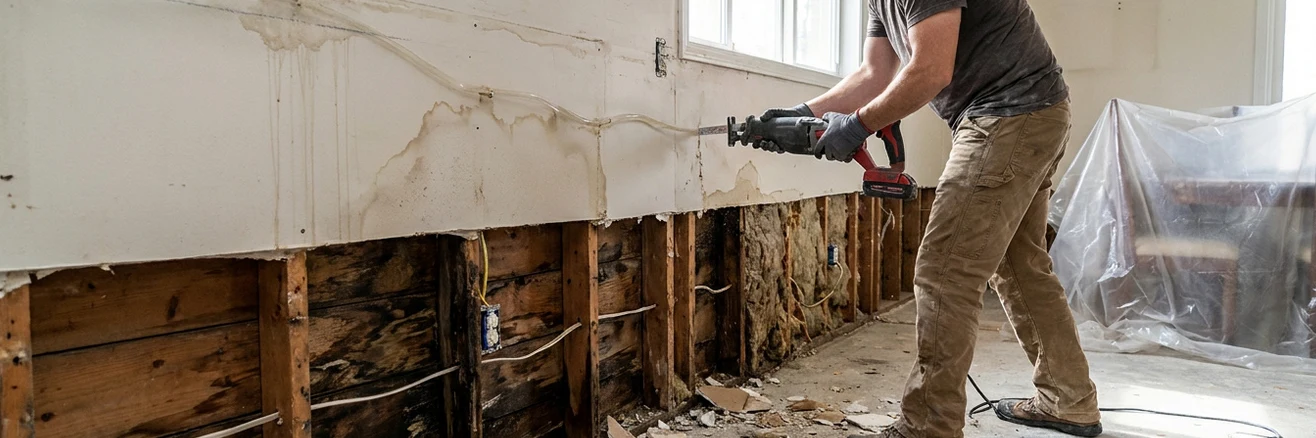
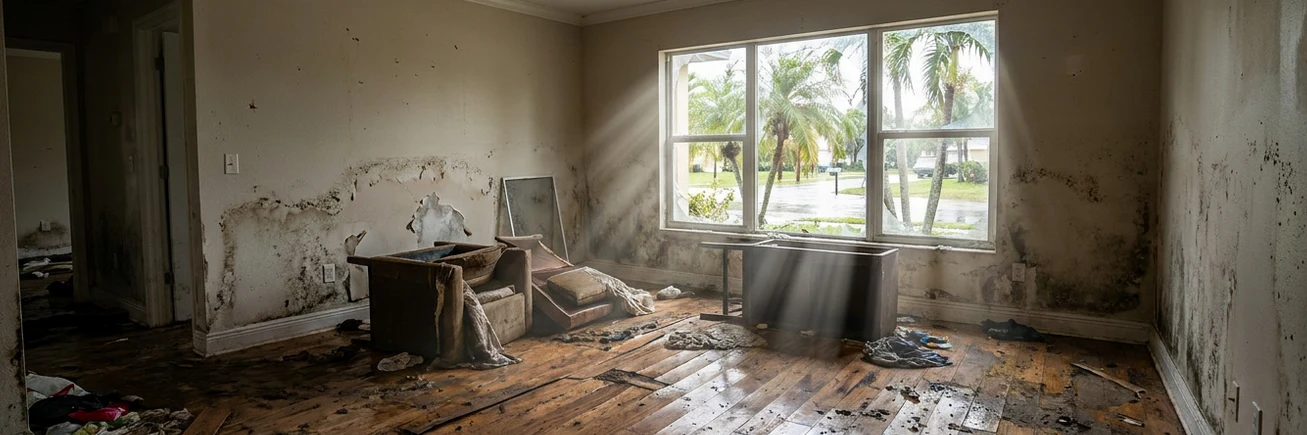
Flood water — even from rain, not sewage — contains bacteria, chemicals, and organic material that permanently contaminate drywall. Drywall is gypsum sandwiched between paper facing, and wet paper is a perfect mold substrate. Dried-out flooded drywall looks fine and tests positive for mold within weeks. It must be removed and replaced.
Use a chalk line or long level to mark a straight horizontal line 12 inches above the highest visible water stain. This buffer ensures you catch all moisture wicking — water travels upward through drywall significantly above the visible stain line.
A drywall jab saw cuts quickly and gives you control. An oscillating multi-tool with a drywall blade is faster for long runs. Cut along your chalk line. Watch for electrical wires and pipes inside the wall — move slowly and check the depth of your cut. Turn off electricity to the affected rooms at the breaker before cutting.
Fiberglass batt insulation that has been submerged is ruined — it cannot be dried and reused. Pull all wet insulation and bag it immediately. Saturated insulation holds enormous moisture against your framing and dramatically extends drying time if left in place. Wear an N95 mask and gloves during removal.
Baseboards trap moisture behind them and block airflow to the bottom of the wall cavity. Use a pry bar to remove them carefully — they can often be salvaged if dried quickly. Mark their location with tape so reinstallation is faster.
Hardwood floors that have been submerged typically cannot be salvaged — they cup and buckle as they dry unevenly. Tile can often be saved if grout was not saturated. Subfloor plywood that tested above 19% moisture must be replaced. Use a moisture meter to check every section before deciding what to keep.
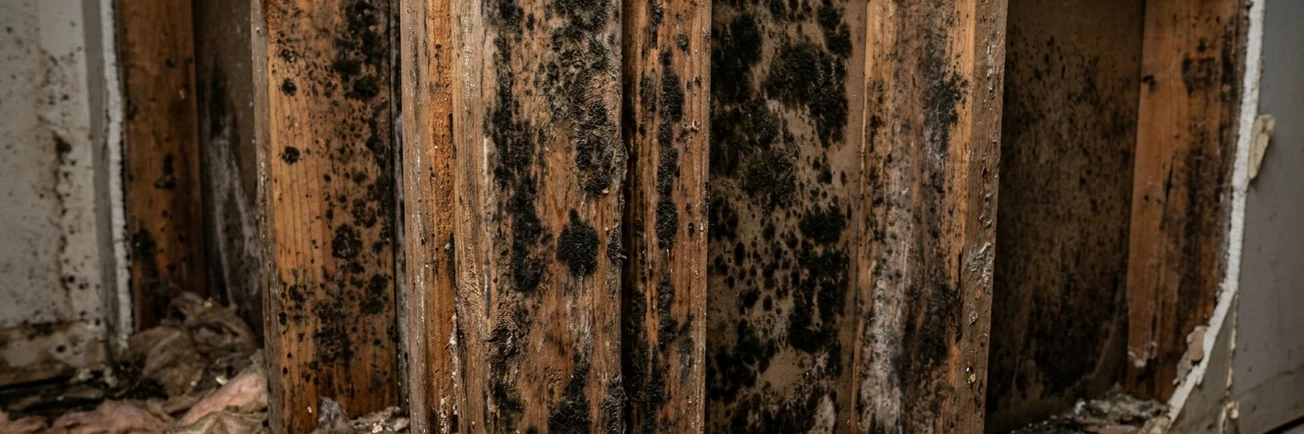
Mold spores are invisible to the naked eye and begin colonizing wet wood within 24–48 hours. By the time you can see black or green growth, the infestation is already well established. Treat all exposed framing, concrete block, and slab surfaces as soon as drywall and insulation are removed — do not wait for visible mold to appear.
Bleach solution (1 cup per gallon of water) is effective on non-porous surfaces like concrete, tile, and painted block. It kills surface mold but does not penetrate deep into porous wood. Use it for concrete slabs, block walls, and tile surfaces.
Concrobium Mold Control is an EPA-registered product that kills mold and creates a physical barrier that prevents regrowth — effective on wood framing where bleach doesn't penetrate. No bleach smell, no fumes, safe around children and pets after drying.
Zinsser Mold Killing Primer is a painted-on primer that kills existing mold and prevents regrowth — apply this to all exposed wood framing before installing new drywall. It is one of the most important steps most DIY recovery projects skip.
Never mix bleach with ammonia or any other cleaner. The combination produces toxic chloramine gas. Ventilate all areas heavily during any bleach treatment.
1 cup of household bleach (5–6% sodium hypochlorite) per gallon of clean water. Apply with a pump garden sprayer or scrub brush. Wet all concrete slab, block walls, and tile surfaces thoroughly. Let it sit for 10 minutes before scrubbing. Rinse with clean water.
Apply Concrobium Mold Control to all exposed wood studs, plates, and joists with a pump sprayer. Apply in a thin, even coat. Do not rinse — the product works as it dries, crushing mold spores and leaving a protective barrier. Reapply after any additional wetting.
For any visible mold already present, scrub with a stiff brush and bleach solution before applying mold control products. Wear an N95 mask, goggles, and gloves during scrubbing — disturbing mold releases large quantities of spores into the air. Seal scrubbed debris in contractor bags immediately.
After framing is dry and treated, apply Zinsser Mold Killing Primer to all exposed wood surfaces before installing new insulation or drywall. This step is not optional — it is the last line of defense against mold developing inside a closed wall cavity after reconstruction.
Even clean-looking floodwater from rain and storm surge carries bacteria, sewage contamination, chemicals from road runoff, and animal waste. Surfaces that appear clean after drying can harbor dangerous bacteria invisible to the eye. The CDC classifies most floodwater as Category 3 — "black water" — which requires full disinfection of all contacted surfaces.
Disinfectants cannot penetrate through dirt, mud, or organic debris — you must remove surface contamination before sanitizing. Scrub concrete floors, block walls, and hard surfaces with soap and water first. Rinse thoroughly with clean water before applying any disinfectant.
Use an EPA-registered disinfectant rated for flood restoration. Lysol Concentrate, Clorox Disinfecting Solution, or commercial flood disinfectants like Benefect Decon 30 are all effective. Apply to all hard surfaces — floors, walls, countertops, cabinets — and allow full contact time per the product label (typically 10 minutes).
If flood water reached your air handler, ductwork, or HVAC equipment, the entire system requires professional cleaning before being operated. Running a contaminated HVAC system distributes bacteria and mold spores throughout your home. Replace the air filter immediately, and have the system inspected by an HVAC professional before restarting.
Carpet, carpet pad, mattresses, upholstered furniture, and particle board cabinets that have been submerged cannot be effectively sanitized — discard them. Solid wood furniture can sometimes be salvaged if dried within 24–48 hours and thoroughly sanitized. When in doubt, throw it out — replacing furniture is far cheaper than mold remediation.
Rebuilding over wet framing traps moisture inside the wall cavity, creating a perfect mold environment that can destroy the new drywall within months. Use a moisture meter to confirm all wood framing is below 19% moisture content before installing new insulation or drywall. This step cannot be rushed.
A 70-pint dehumidifier handles approximately 1,000–1,500 sq ft. For a full-home flood, rent multiple commercial dehumidifiers from your local equipment rental center — they move significantly more moisture than residential units. Empty tanks frequently or run a drain hose outside. Run 24/7 — do not turn them off at night.
Air movers (also called carpet blowers or snail fans) push high-velocity air across surfaces to accelerate evaporation. Place them pointing along the base of walls, under raised flooring, and across the slab. Combined with dehumidifiers, they cut structural drying time from weeks to days. Available at equipment rental centers.
Test framing studs, bottom plates, subfloor, and any remaining structural wood daily. Target: below 19% moisture content for wood framing, below 16% for subfloor. Concrete and block dry more slowly — 30–45 days to full equilibrium is normal. Document meter readings with photos and dates for your insurance file.
Opening windows helps only when outdoor relative humidity is lower than indoor. In Florida's summer, outdoor humidity often exceeds 85% — opening windows in that condition makes drying slower, not faster. Check outdoor humidity with a hygrometer before opening. Run AC when available — it removes significant moisture.
DIY cleanup is appropriate for minor water intrusion. Call a licensed mold remediation contractor immediately if:
Before rebuilding after professional remediation, hire an independent industrial hygienist (not the same company that did the remediation) to perform air quality testing. A clearance test confirms mold levels are within safe limits and gives you documentation for your insurance file and any future home sale.
The best time to think about hurricane protection is before damage happens. Get a free estimate for hurricane shutters and see your insurance savings.
Get Free Shutter Estimate → Full Supply Checklist →Everything you need for storm water damage cleanup — available for fast delivery.
As an Amazon Associate we earn from qualifying purchases, at no extra cost to you.