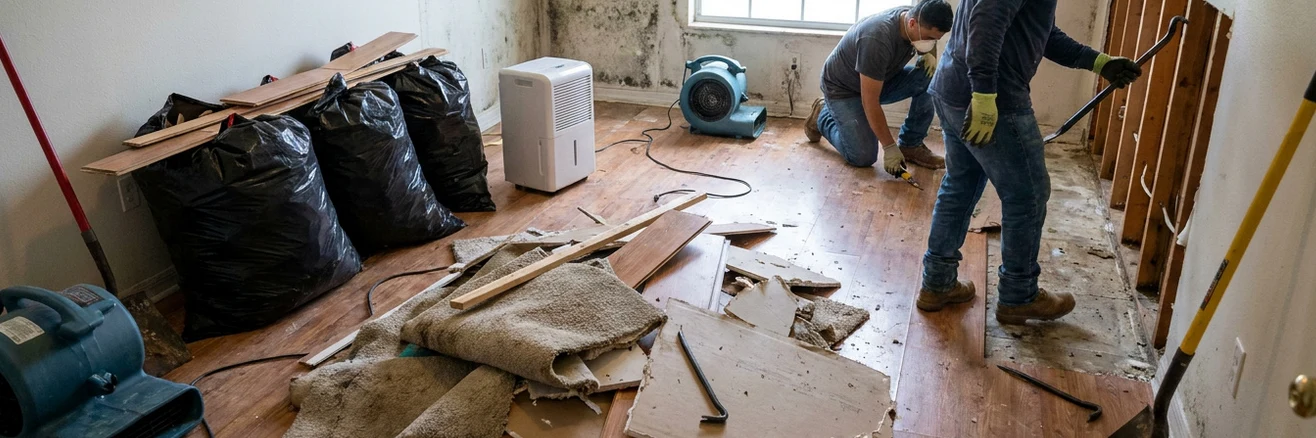
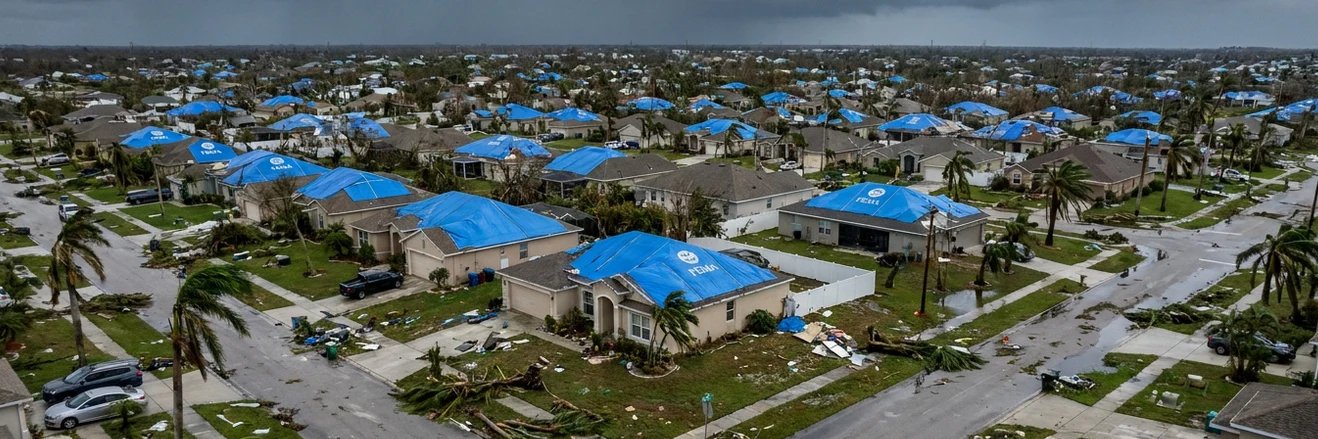
🏠 Post-Storm Recovery · Roof Protection
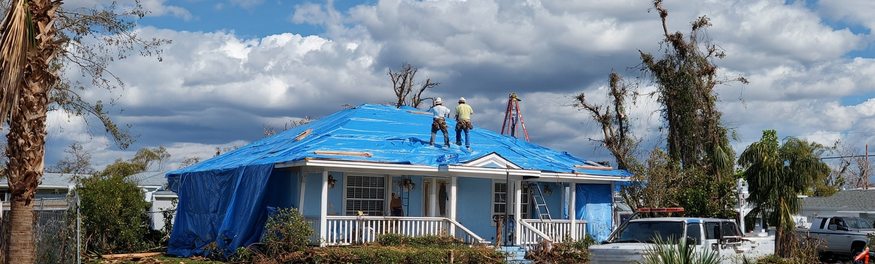
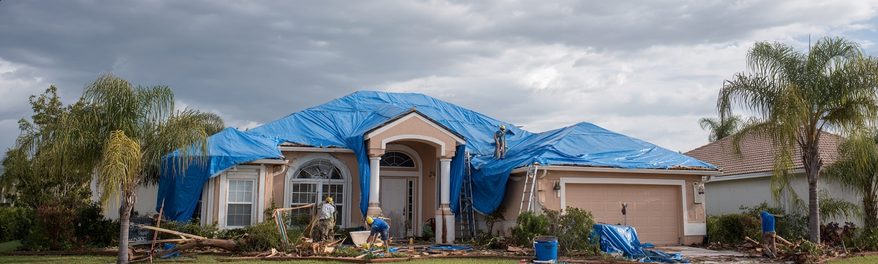
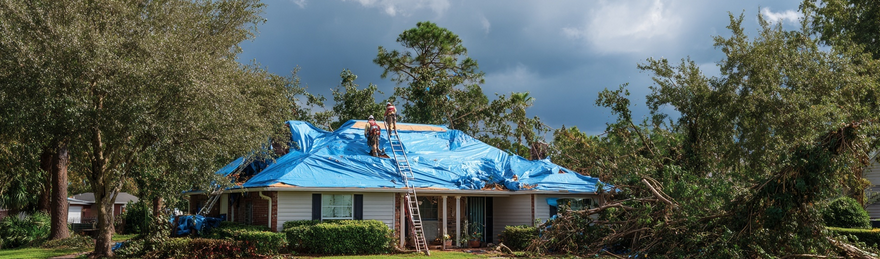
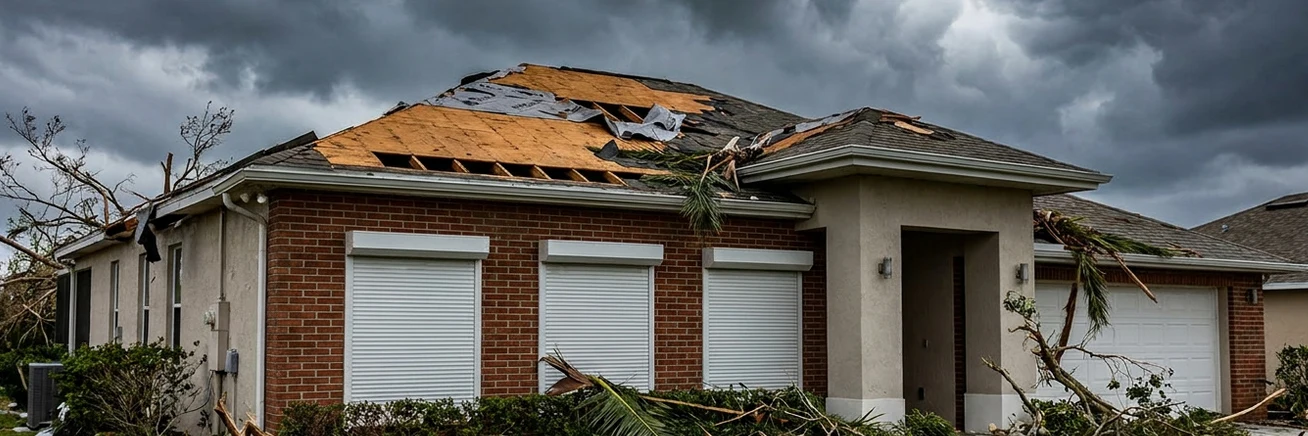
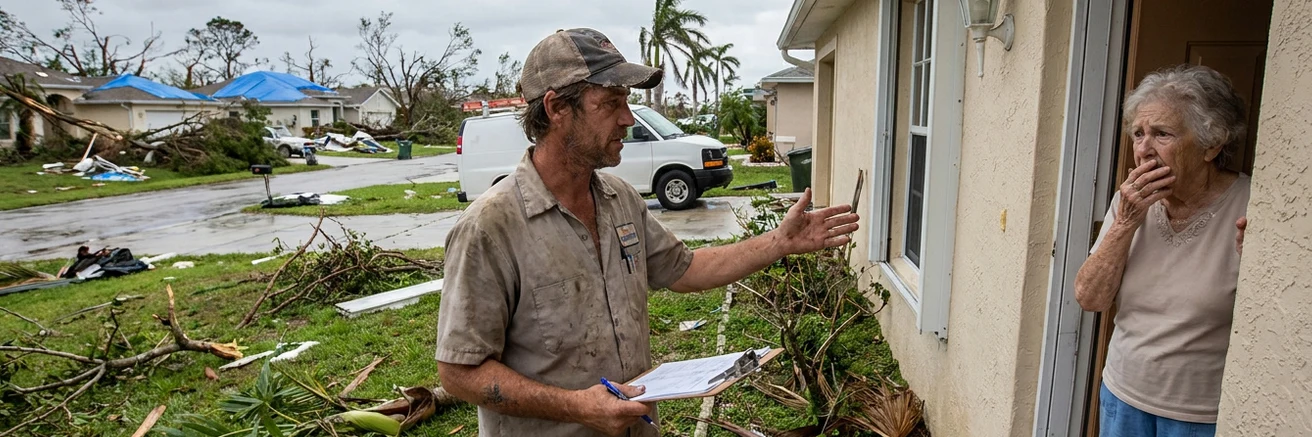
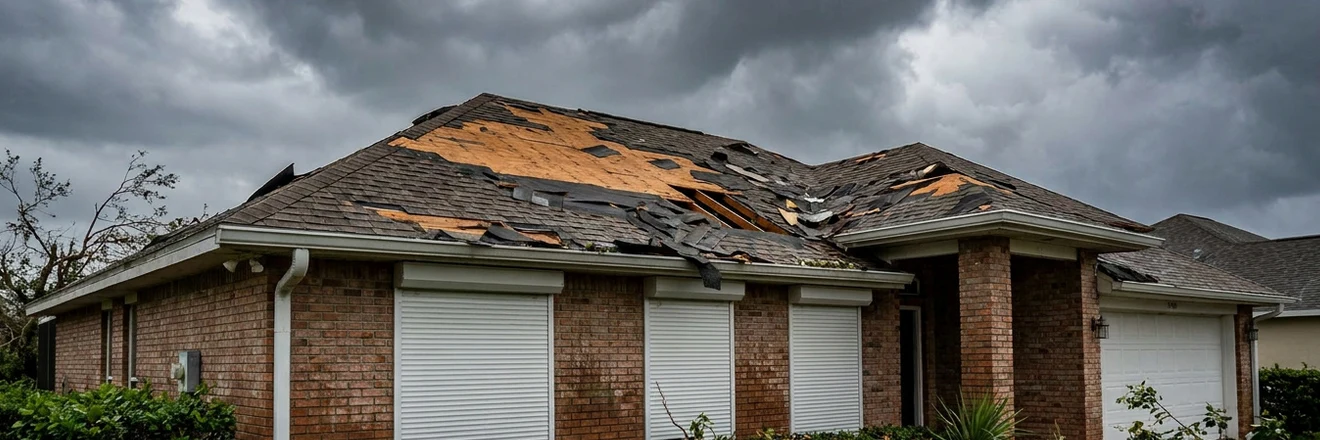
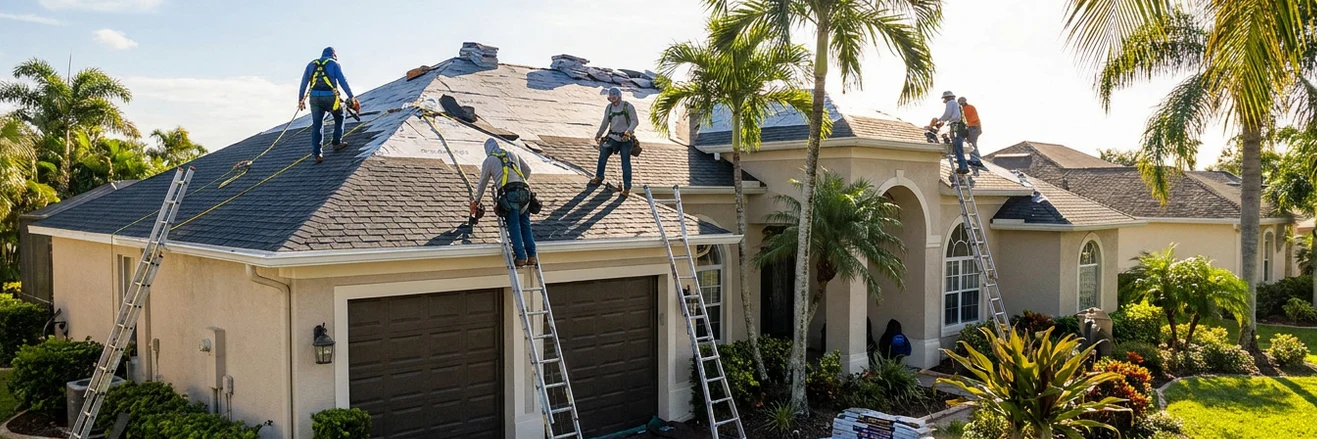
Emergency Roof Tarping
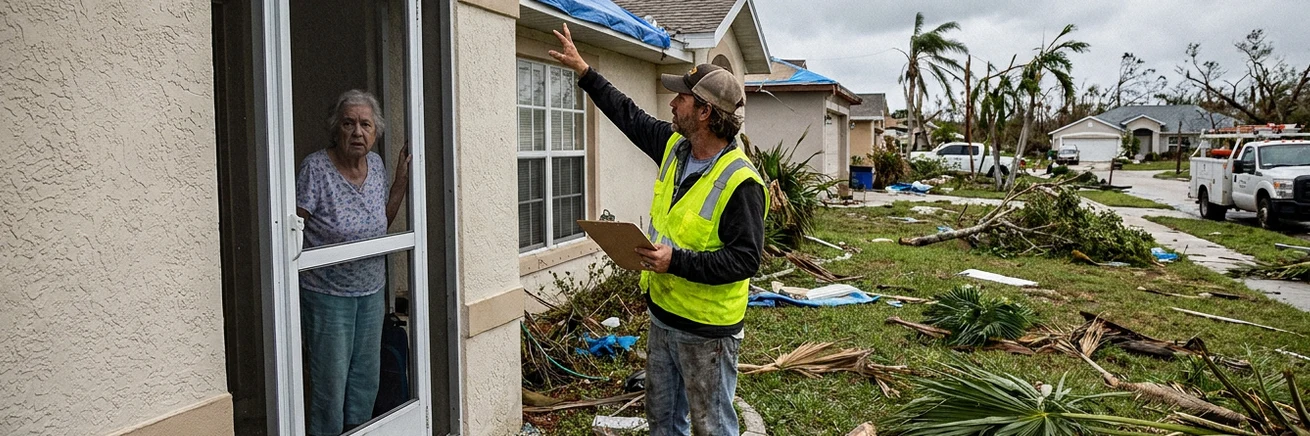
After a Hurricane
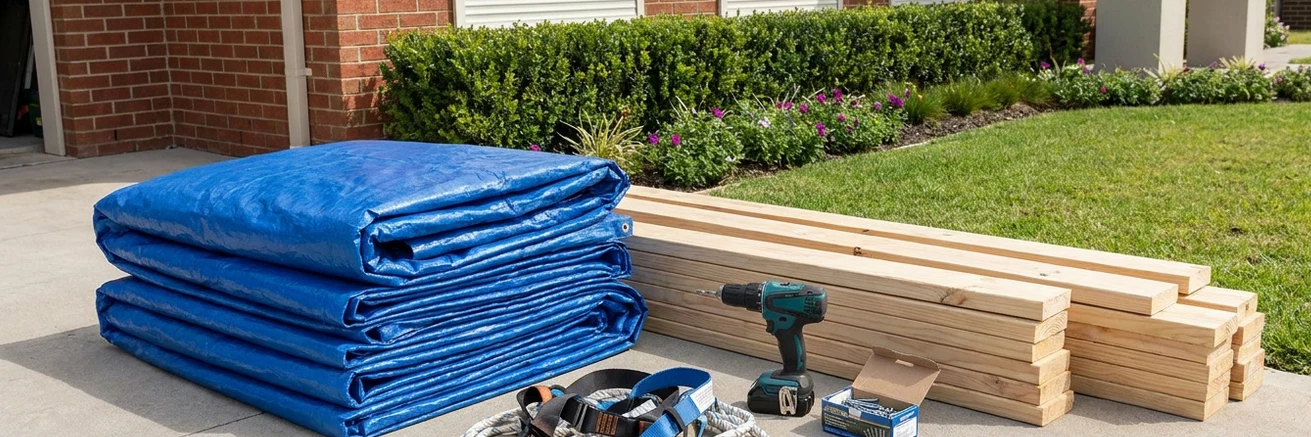
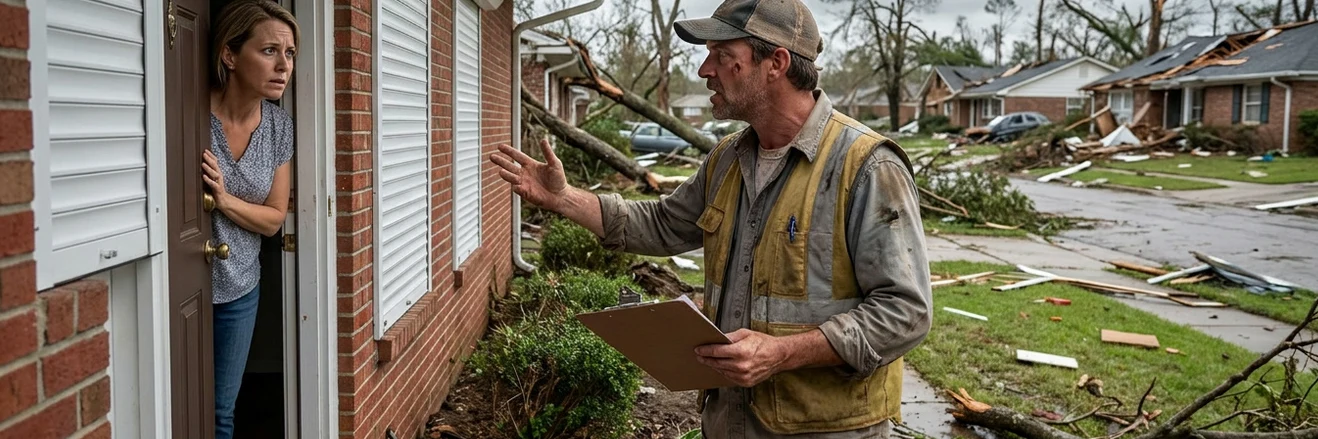
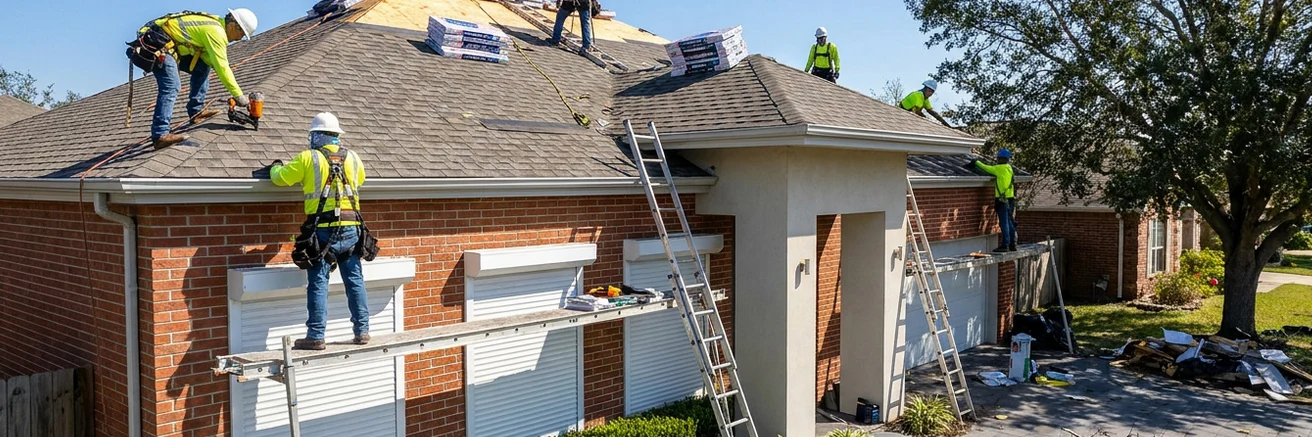
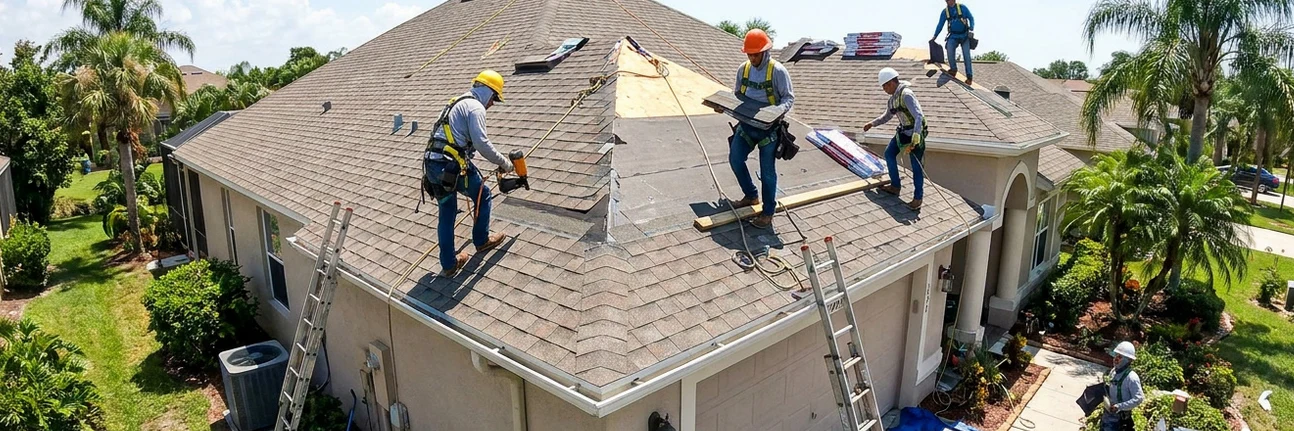
DIY materials list and how-to, what to look for when hiring someone, how to find a roofer — and how to avoid the scammers that follow every storm.