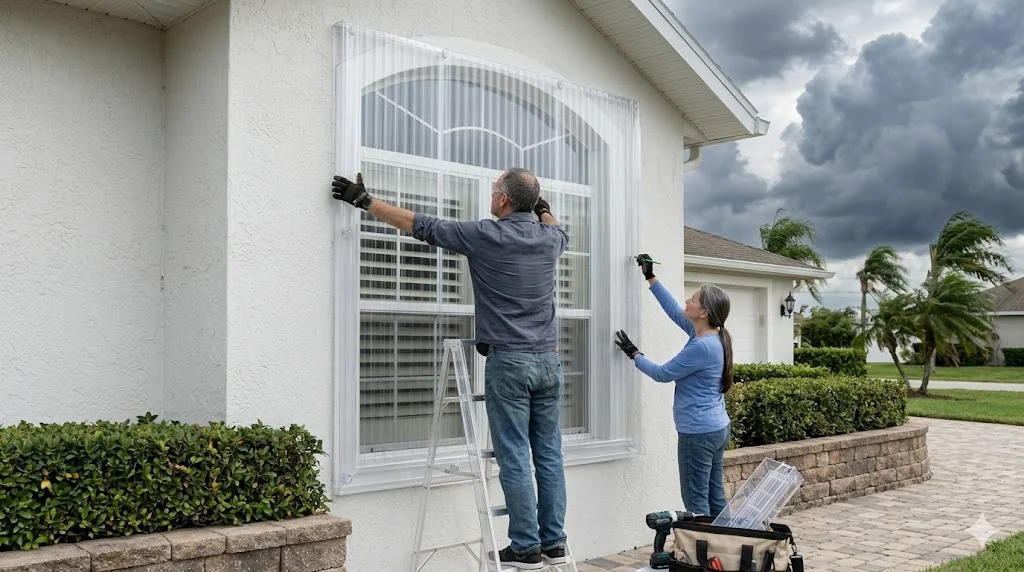
Polycarbonate vs Acrylic — Which to Buy and Why It Matters
Both materials are transparent and look identical in a hardware store. For hurricane protection, they perform completely differently. Buying the wrong one is a costly and dangerous mistake.
✓ Polycarbonate (Lexan, Makrolon, Tuffak)
- Impact-resistant — flexes on impact, does not shatter
- 200× stronger than glass by weight
- Some products carry Miami-Dade NOA approval
- UV-stabilized grades maintain clarity for years
- Cost: $45–$80 per 4×8 sheet (1/2" thickness)
- Can be used in track systems like aluminum panels
✗ Acrylic (Plexiglas, Lucite, Acrylite)
- Shatters under impact — no better than glass
- Rarely approved for hurricane opening protection
- Looks identical to polycarbonate on store shelves
- Cheaper: $35–$65 per sheet — but wrong for hurricanes
- Acceptable for supplemental only, not primary protection
- Will not qualify for any insurance discount
Thickness Guide — Which to Use for Your Opening
| Thickness | Best Use | Max Anchor Span | 2026 Cost/Sheet |
|---|---|---|---|
| 1/4" (6mm) | Track-system panels only — per manufacturer spec | Per product NOA | $25–$40 |
| 3/8" (9.5mm) | Track systems or light supplemental use | 36" between anchors | $35–$55 |
| 1/2" (12mm) | Direct-attach — the standard minimum for DIY hurricane use | 48" between anchors | $45–$80 |
| 3/4" (19mm) | Large openings, sliding doors, garage door panels | 60" between anchors | $80–$130 |
What a Florida NOA Number Means — and Why Generic Sheets Don't Qualify
A Florida Product Approval (NOA — Notice of Acceptance from Miami-Dade County) means the specific product has been impact-tested at rated wind loads and engineering-reviewed for use as opening protection. This is what your insurance company requires for a wind mitigation discount.
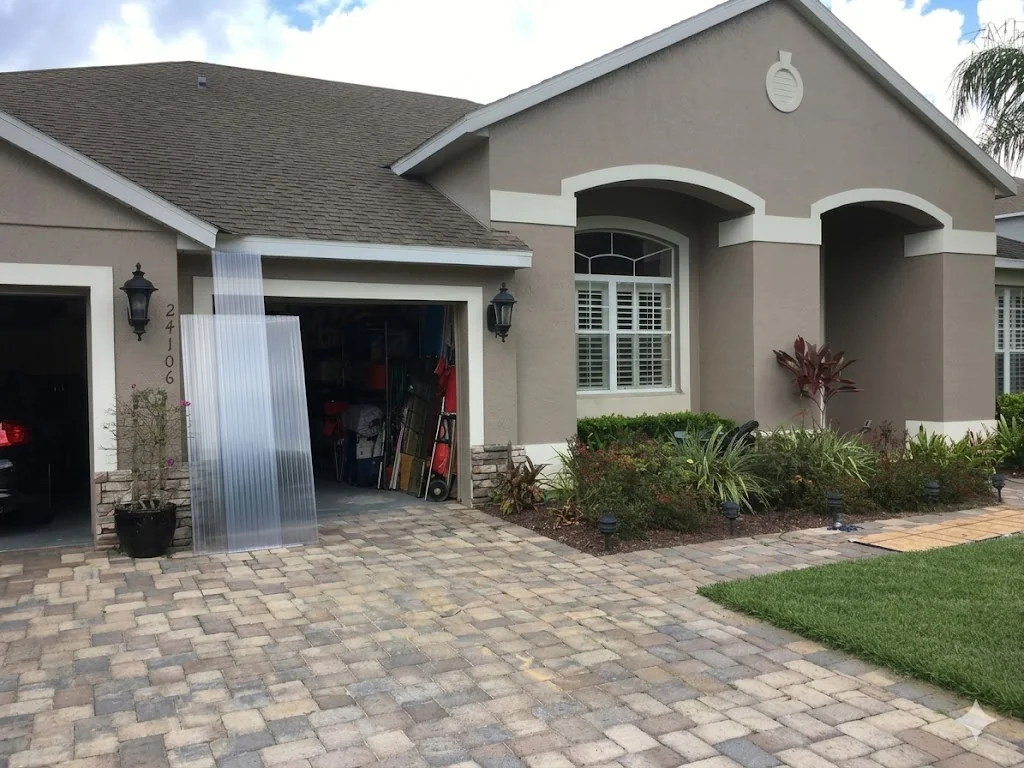
- Generic polycarbonate from Home Depot does not qualify — the material may be identical to an approved product, but without a Florida NOA, it will not pass a wind mitigation inspection
- The NOA number must appear on the product label or packaging — ask your supplier for the Florida Product Approval number before purchasing
- Search the Florida approval database — the Florida Department of Business and Professional Regulation maintains a searchable database at floridabuilding.org
- Track system must be approved separately — the polycarbonate panel approval and the track system approval are two different products; both need NOA numbers for the combination to qualify
- Installation must be permitted and inspected — even with approved products, a non-permitted installation will not qualify for insurance discounts
How to Measure Your Windows for Polycarbonate Panels
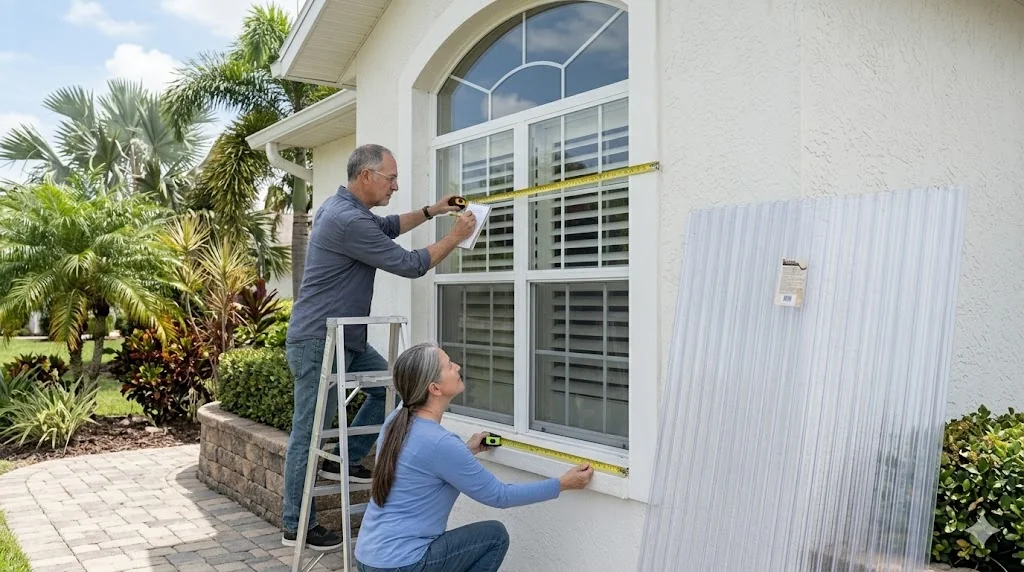
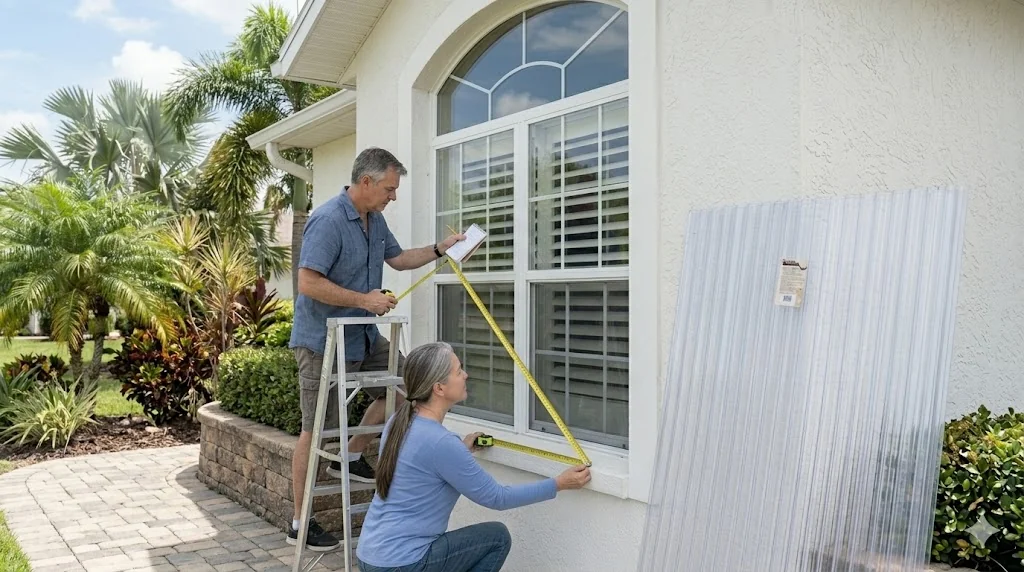
Polycarbonate panel measurement has one critical difference from plywood — you must account for thermal expansion on all four sides. A panel cut to an exact fit will buckle in summer heat.
- Measure from masonry edge to masonry edge — not glass to glass. Add 8 inches total (4 each side) for anchor clearance.
- Subtract 1/4 inch from the width — this provides 1/8 inch expansion gap on each side. Do the same for height.
- Record every window on a numbered list — use a numbering system that matches the numbers you will paint on each installed panel.
- Note any obstructions — AC units, gas meters, electrical boxes, and existing shutter hardware all affect panel sizing and anchor placement.
- Measure in the morning — install in the morning when panels are closest to their minimum size. Panels installed at midday Florida heat are already near maximum expansion.
| Opening Size | Panel Width to Cut | Panel Height to Cut | Expansion Gap Each Side |
|---|---|---|---|
| 24" × 36" window | 31.75" | 43.75" | 1/8" all sides |
| 36" × 48" window | 43.75" | 55.75" | 1/8" all sides |
| 48" × 60" window | 55.75" | 67.75" | 1/8" all sides |
| 72" × 80" sliding door | 79.75" | 87.75" | 1/8" all sides — use 3/4" thickness |
How to Cut Polycarbonate Without Cracking It
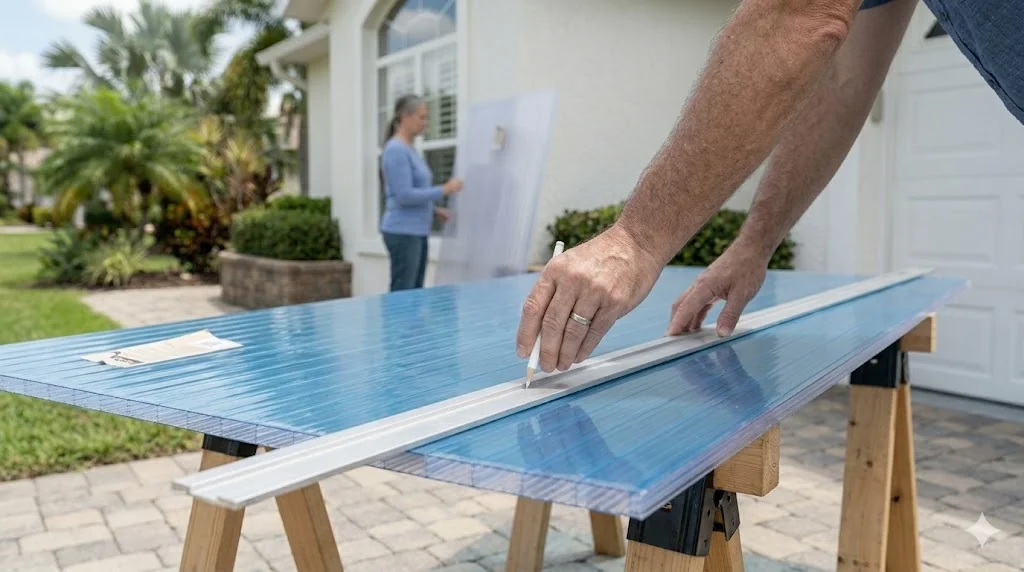
Polycarbonate cracks during cutting for two reasons: wrong blade and wrong technique. Both are completely preventable. The material cuts cleanly and quickly when done correctly.
Blade Selection — Non-Negotiable
- 80-tooth fine-tooth carbide blade minimum — this is the floor. 100-tooth is better for 1/2 inch and thicker panels.
- Triple-chip grind (TCG) preferred — alternating flat-top and chamfered teeth designed specifically for cutting plastics. Available online and at specialty saw shops.
- Never use a wood framing blade (fewer than 40 teeth) — generates too much heat per tooth contact and chips rather than cuts polycarbonate.
- Never use a metal-cutting blade — wrong tooth geometry, causes cracking at the cut edge.
Setup Before Every Cut
- Leave protective film on the panel — the film protects from scratches and provides a clean surface to mark your cut line. Remove film only at final installation.
- Mark cut line with grease pencil on the film only — permanent marker bleeds through and stains polycarbonate permanently.
- Clamp a metal straight-edge guide to the panel — freehand cutting polycarbonate causes the blade to wander, which binds, generates heat, and cracks the panel. The guide is mandatory.
- Support the full panel on three sawhorses — both halves must be supported at the cut line so they don't pinch the blade at the end of the cut.
- Set saw to lowest speed — heat is the enemy of polycarbonate. High speed melts the material behind the blade, fusing it back together and causing the blade to bind and crack the panel.
Making the Cut
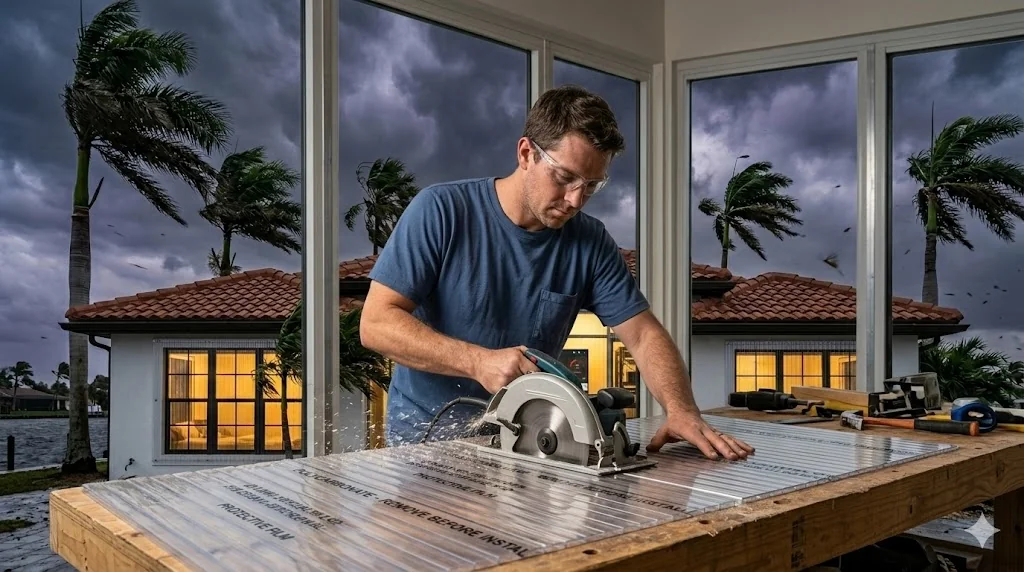
- Bring saw to full speed before contacting the panel
- Feed slowly and steadily — let the blade do the work, never force it
- Watch for chips, not smoke. Smoke = too fast. Stop, let cool, reduce speed.
- Complete the full cut without stopping mid-panel
- Deburr the cut edge with 220-grit sandpaper to remove any burrs that become stress concentrations
How to Drill Polycarbonate Without Cracking — The Three Rules
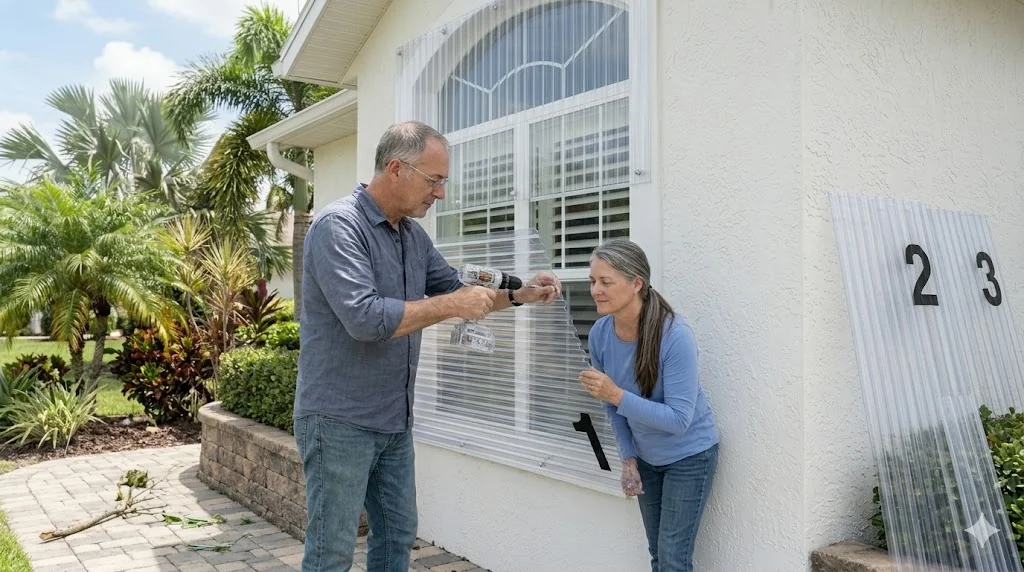
Polycarbonate cracks during drilling for two reasons: too much speed and too much fastener pressure. Both are entirely preventable with the correct tools and technique.
The Three Rules That Prevent Every Crack
Pilot Hole Sizing — Oversized on Purpose
| Screw Size | Pilot Hole in Panel | Wall Hole (Masonry) | Wall Hole (Wood) |
|---|---|---|---|
| Tapcon 3/16" | 1/4" (larger than screw) | 5/32" masonry bit | Not for masonry only |
| Tapcon 1/4" | 5/16" (larger than screw) | 3/16" masonry bit | Not for masonry only |
| #12 structural screw | 3/16" (larger than screw) | N/A | 1/8" pilot into stud |
| 3/8" carriage bolt | 7/16" (larger than bolt) | 3/8" masonry bit | 3/8" through stud |
The pilot hole in the polycarbonate panel must be slightly larger than the screw shank — not a snug fit. This allows the panel to shift at each anchor point as temperature changes during the day. A tight hole prevents thermal movement and cracks the panel from internal stress.
Why Polycarbonate Must Have Room to Expand — and What Happens Without It
Polycarbonate has a thermal expansion coefficient roughly 6× higher than aluminum and 3× higher than wood. In Florida's summer heat, a 48-inch panel can expand by 3/16 inch between morning and afternoon. If the panel has no room to expand, it buckles in the middle — a permanent deformation that ruins the panel and compromises storm protection.
| Panel Width | Expansion at 100°F Day | Required Gap Each Side | What Happens Without Gap |
|---|---|---|---|
| 24 inches | ~3/32" | 1/16" each side | Panel warps slightly — lose flat seal |
| 36 inches | ~1/8" | 1/16" each side | Panel buckles — loses weather seal |
| 48 inches | ~3/16" | 1/8" each side | Panel buckles significantly — may crack |
| 72 inches | ~1/4" | 1/8" each side | Panel splits at fastener holes |
| 96 inches | ~5/16" | 3/16" each side | Panel cracks — complete failure possible |
Step-by-Step Polycarbonate Panel Installation
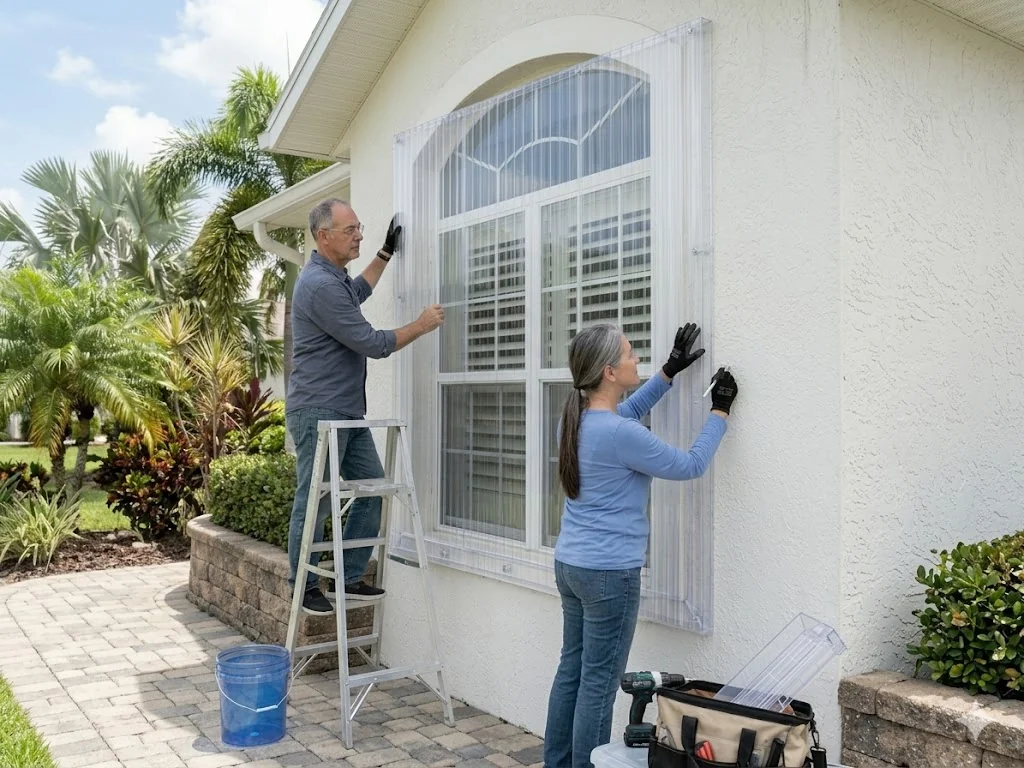
Track System Installation (Recommended — Requires Professional Track Install)
- Confirm tracks are professionally installed and permitted — the NOA number for the track system must be on file with your county building department before you can claim insurance credit
- Clean track channels with wire brush before storm season — debris in the channel causes panels to bind and crack at the lower edge when you try to force them in
- Leave protective film on until installation day — film prevents scratching and crazing in storage; remove only when you are ready to install
- Angle panel into header track first — tilt the panel at 30–45 degrees, slide top edge fully into the header channel, then lower bottom edge into the sill track
- Install all fasteners — every single one — polycarbonate track systems are engineered for all fasteners present. A missing fastener at a corner can allow the panel to flex and fail under wind load
- Check for rattling — a rattling panel has insufficient tension or a worn track. A panel that rattles in normal wind will fail in a hurricane
Direct-Attach Installation (No Track System)
- Pre-drill all pilot holes in panels at low speed — oversized holes, clean deburr
- Mark wall hole positions through panel holes with pencil
- Drill wall holes with hammer drill (masonry) or standard drill into studs (wood frame)
- Place neoprene washer on screw shank, drive through panel hole into wall
- Tighten only until neoprene contacts panel — then stop
- Walk perimeter and hand-check every fastener — zero panel movement allowed
Neoprene Washers, Torque, and Why Every Fastener Detail Matters
Hurricane wind creates suction loads that try to pull your panels away from the wall — not just push them. The fastener system must resist both directions. Polycarbonate is softer than aluminum and requires specific hardware to distribute load without creating crack-initiating stress points.
| Fastener Detail | Correct Specification | Why It Matters |
|---|---|---|
| Washer type | Solid neoprene — 1.5" OD minimum | Distributes load; prevents crack at hole; accommodates thermal movement |
| Washer placement | Under fastener head AND under nut (if through-bolted) | Both faces of panel must be protected from hard contact |
| Pilot hole size | 1/16" larger than screw shank | Allows panel thermal movement at each anchor point |
| Torque level | Snug contact + zero additional | Any overtightening compresses panel and initiates cracks |
| Fastener spacing | Every 12" around perimeter | Same as aluminum panels — skipping fasteners concentrates load |
| Edge distance | 1.5" minimum from panel edge | Closer and the panel cracks at the hole under suction load |
Numbering, Storage, and Pre-Season Preparation
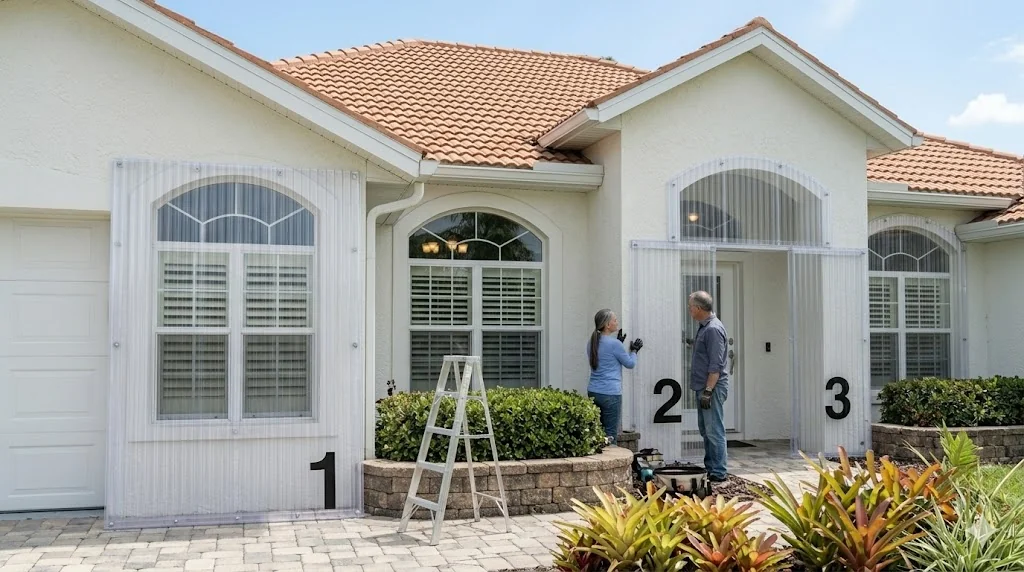
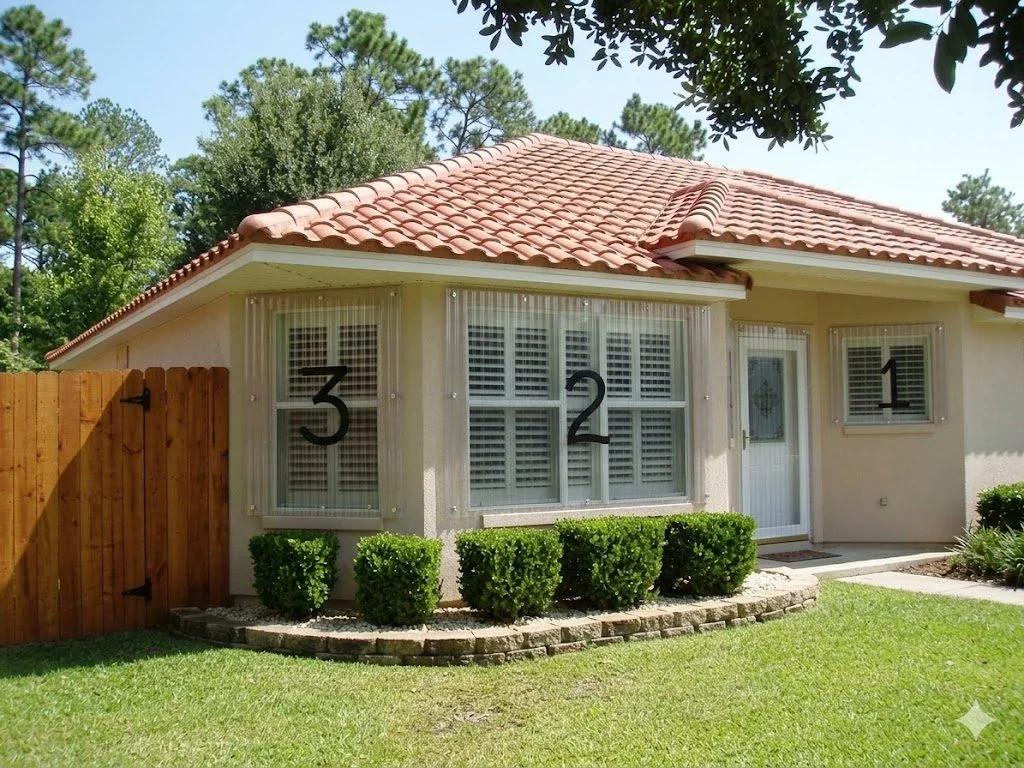
Notice in the real photo how you can see the shutters and blinds through the panels — that transparency is the key advantage polycarbonate has over plywood. Light enters during the storm, you can see what is happening outside, and you know when conditions have improved enough to remove the panels safely.
- Number panels before first installation — paint a large black number on each panel with a paint marker before hurricane season. One digit per panel is all you need.
- Keep protective film on stored panels — the film prevents scratching and UV crazing during storage. Only remove it at installation time.
- Store flat indoors out of direct sunlight — panels stored leaning against an outdoor wall in direct Florida sun degrade 3× faster than panels stored flat in a garage. Horizontal storage on sawhorses with stickers between panels is ideal.
- Apply UV-protective polish annually — use Novus Plastic Polish or Plexus Plastic Cleaner. Apply after cleaning, buff with a microfiber cloth. This restores the UV-protective surface layer that prevents yellowing and crazing.
- Inspect for edge cracks every March — hold each panel up and look at the edge at every fastener hole location. Hairline cracks radiating from holes mean the panel is structurally compromised and must be replaced before storm season.
- Replace hazy or heavily crazed panels — surface crazing (tiny surface cracks from UV exposure) reduces impact resistance. A panel that looks like cracked mud has lost significant protection capacity.
How Much Polycarbonate Do You Need — Cost by Home Size
Polycarbonate costs more per sheet than plywood but provides better storm protection, lets in natural light, and lasts for many seasons without replacement. Here is the realistic cost for a full home installation using 1/2 inch panels.
| Home Size | Avg Openings | Sheets Needed | Materials Cost | With Track System |
|---|---|---|---|---|
| Small condo (2BR) | 4–5 openings | 3–4 sheets | $185–$380 | $600–$1,200 |
| Small home (3BR/1,200 sq ft) | 6–8 openings | 5–6 sheets | $280–$560 | $900–$1,800 |
| Average Florida home (3BR/1,800 sq ft) | 8–12 openings | 7–9 sheets | $390–$840 | $1,200–$2,600 |
| Large home (4BR/2,500 sq ft) | 12–16 openings | 10–13 sheets | $560–$1,210 | $1,600–$3,800 |
| Large home with large sliding doors | 14–18 openings | 13–18 sheets | $720–$1,680 | $2,000–$5,000 |
Polycarbonate vs Plywood vs Storm Panels — Which Is Right for You?
Each protection type has a genuinely different set of trade-offs. The right choice depends on how often you install, whether natural light matters during a storm, and your insurance discount goal.
| Material | Storm Protection | Natural Light | Reusable? | Insurance Credit? | Cost |
|---|---|---|---|---|---|
| Plywood (5/8" CDX) | Cat 1–2 adequate | Zero — total blackout | 2–3 seasons | Never | $28–$42/sheet |
| Polycarbonate (1/2") | Cat 1–2 direct-attach; Cat 5 with approved track | Full light passes through | 5+ seasons | With NOA + permit | $45–$80/sheet |
| Aluminum storm panels | Cat 5 rated | Blocks light — solid panels | Decades | Yes — with permit | $1,500–$4,000 installed |
| Accordion shutters | Cat 5 rated | Closes — no light | Decades | Yes — best discount | $6,000–$18,000 installed |
| Impact windows | Cat 5 rated | Always clear — passive | Permanent | Yes — largest discount | $15,000–$40,000+ |
Polycarbonate occupies a unique position: more effective than plywood, less expensive than permanent shutters, and it keeps natural light inside during the storm — something no other panel system offers. For vacation rentals and snowbird properties where no one is home to close shutters, consider impact windows instead.
Polycarbonate vs Storm Panels — When the Upgrade Makes Financial Sense
Polycarbonate is significantly better than plywood. But aluminum storm panels are cheaper per opening, last longer, and qualify for insurance discounts that polycarbonate may not — depending on your product approval and installation method. Here is the 10-year math.
| Scenario | Year 1 Cost | 5-Year Cost | 10-Year Cost |
|---|---|---|---|
| DIY polycarbonate direct-attach | $470–$980 | $550–$1,100 (UV degradation panel replacement) | $700–$1,400 |
| Polycarbonate track system (pro install) | $1,200–$2,600 | No additional cost | $1,200–$2,600 total |
| Aluminum storm panels (installed) | $1,500–$4,000 | No additional cost | $1,500–$4,000 total |
| Accordion shutters (installed) | $6,000–$18,000 | No additional cost | $6,000–$18,000 total |
Preventing Yellowing, Crazing, and UV Degradation
Polycarbonate degrades from UV exposure over time — not structurally but optically and then mechanically. Unprotected panels turn yellow and develop surface crazing within 3–5 years in Florida's intense sun. UV-stabilized panels last significantly longer but still require annual maintenance.
| Pre-Season Check | What to Look For | Action |
|---|---|---|
| Edge cracks at fastener holes | Hairline cracks radiating from holes | Replace panel — it will propagate under wind load |
| Surface crazing | Network of tiny surface cracks | Apply UV polish; replace if extensive |
| Yellowing or haze | Yellow tint or cloudy surface | UV polish may improve; severe = replace |
| Panel bow or warp | Panel won't sit flat in track | May have expanded in heat — recheck in morning |
| Neoprene washers | Compressed flat, cracked, or hard | Replace all washers — $12 per pack of 25 |
| Track hardware | Corroded or stripped bolts | Replace all questionable hardware before season |
Polycarbonate Hurricane Shutter — Complete Materials & Tools List
Enter your window and door dimensions. The calculator builds your complete shopping list — polycarbonate sheets, neoprene washers, correct fasteners, UV polish, and every tool, blade, and bit you need.