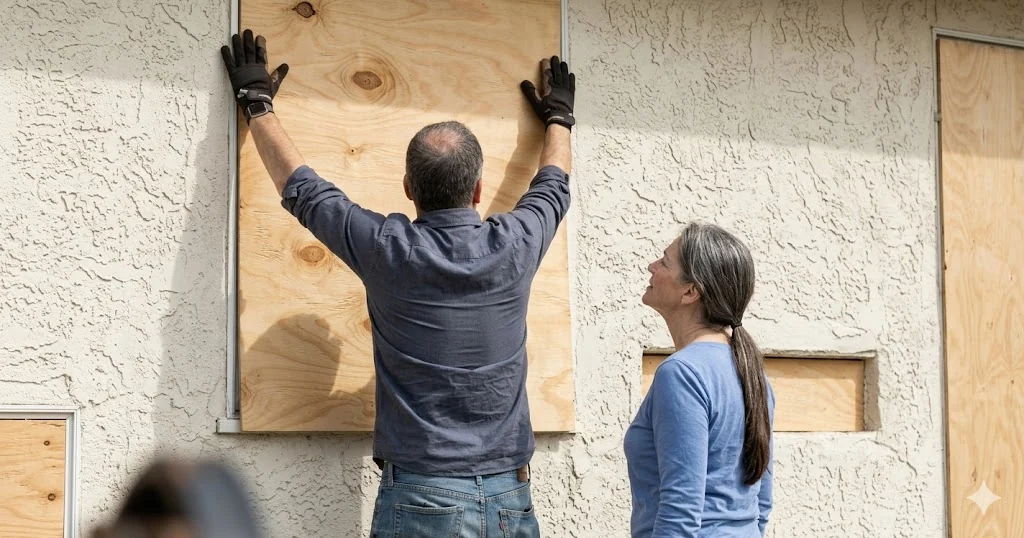
Which Plywood to Buy — and What to Avoid
The single most important decision is the grade and thickness of plywood. The wrong material will fail under hurricane loads regardless of how well you install it.
✓ Use This
- 5/8" CDX exterior plywood — minimum for any window
- 3/4" CDX — required for openings wider than 48 inches
- CDX = C-grade face, D-grade back, exterior glue
- Must say "Exterior" on the grade stamp
- Available at Home Depot, Lowe's, lumber yards
✗ Never Use These
- OSB — absorbs water within hours, swells and warps
- Interior plywood — interior glue fails when wet
- Particleboard — disintegrates in rain
- MDF — completely fails when wet
- 1/2" plywood — too thin, flexes under wind load
| Plywood Grade | Thickness | Best For | 2026 Price |
|---|---|---|---|
| CDX Exterior 5/8" | 5/8" (15.9mm) | Standard windows up to 48" wide | $28–$42/sheet |
| CDX Exterior 3/4" | 3/4" (19.1mm) | Large windows, sliding doors, garage doors | $35–$55/sheet |
| ACX Exterior 5/8" | 5/8" | Same protection, smoother face | $40–$58/sheet |
| OSB (avoid) | Any | NOT suitable — absorbs moisture rapidly | Do not use |
How to Measure Your Windows for Plywood Panels
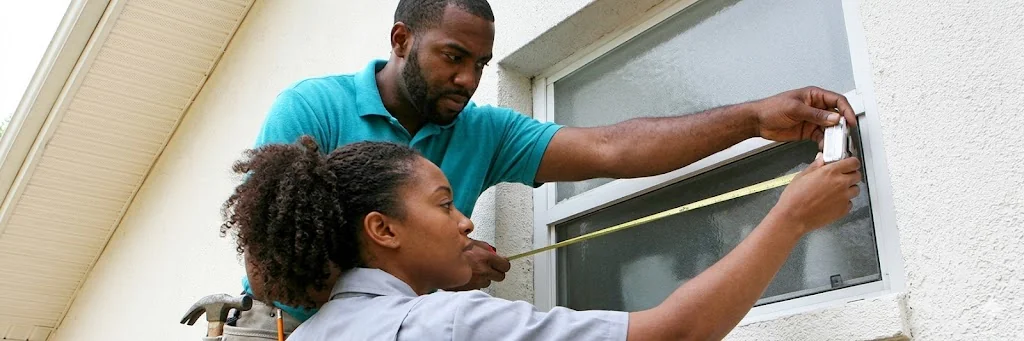
Plywood panels must overlap the window opening to anchor into the wall — not into the window frame or siding. Measure the masonry or wall surface, not the glass.
- Measure the full opening width — from masonry edge to masonry edge, not glass to glass. Add 8 inches total (4 inches each side) for anchor clearance.
- Measure the full opening height — from sill masonry to header masonry. Add 8 inches total (4 inches top and bottom).
- Record on a master list — write every window's dimensions on paper. Use a labeling system: FR-1 (Front Room 1), BR-2 (Bedroom 2), etc.
- Check for obstructions — AC units, electrical outlets, gas meters, and hose bibs can interfere with panel placement. Note these on your list.
- Measure window sills — if there is a deep sill or hurricane shutter track already present, your panel may need to clear it.
| Opening Size | Panel Width Needed | Panel Height Needed | Sheets Required |
|---|---|---|---|
| 24" × 36" window | 32" | 44" | 1 sheet (rip down) |
| 36" × 48" window | 44" | 56" | 1 sheet |
| 48" × 60" window | 56" | 68" | 1 sheet (tight) |
| 72" × 80" sliding door | 80" | 88" | 2 sheets (join vertically) |
| 120" garage door | 128" | height + 8" | Multiple — must overlap |
How to Cut Plywood Without Splintering or Cracking
Cutting plywood correctly takes the right blade, the right technique, and proper support. A bad cut means a panel that doesn't fit flush — and gaps let in wind-driven rain at 100+ mph.
Blade Selection
- 40-tooth carbide blade minimum — finer teeth mean cleaner cuts and less splintering
- 60-tooth preferred for finish-quality cuts with minimal splintering on the face
- Never use a framing blade (fewer than 24 teeth) on plywood — it tears rather than cuts
- Replace dull blades — a dull blade burns wood and creates rough edges that can crack panels
Setup Before You Cut
- Support the full sheet on sawhorses — unsupported panels flex and bind the blade, causing kickback. Use at least 3 sawhorses for a 4×8 sheet.
- Set blade depth correctly — blade should extend exactly 1/8 inch below the bottom of the panel. Deeper cuts increase kickback risk.
- Mark cuts with a chalk line — snap a chalk line across the full panel for straight cuts. A pencil line is fine for shorter cuts.
- Good face down — the circular saw blade cuts upward on the downstroke, so splintering occurs on the top face. Put the good face DOWN to protect it.
- Use a straightedge guide — clamp a straight board to the panel as a fence for the saw base to ride against. This is the only way to guarantee a straight cut.
The Cut
- Position saw at the start of your mark, blade clear of the panel
- Bring blade to full speed BEFORE contacting the wood
- Feed steadily — do not force or slow down mid-cut
- Complete the cut all the way through — stopping mid-cut causes blade binding
- Let the blade stop fully before setting the saw down
How to Pre-Drill Panels — Hole Size, Spacing, and Edge Distance
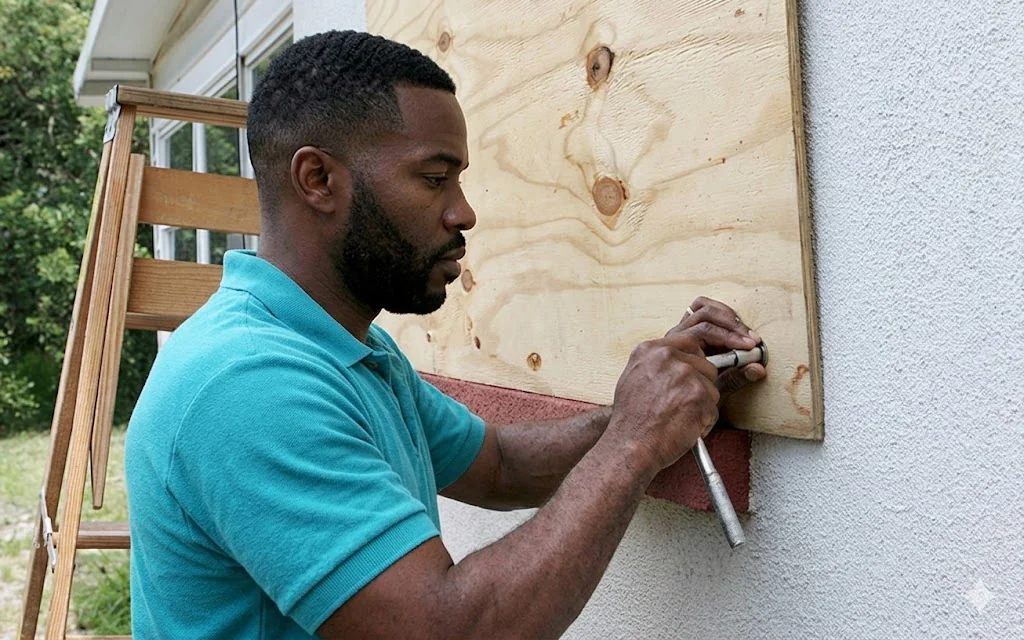
Pre-drilling panels before storm season is the single best thing you can do to reduce installation time when a storm threatens. A pre-drilled set of labeled panels takes 2 hours to install. Un-drilled panels take 6–8 hours.
Hole Size by Fastener Type
| Fastener | Pilot Hole in Panel | Wall Hole Diameter | Wall Type |
|---|---|---|---|
| Tapcon 3/16" × 3" | 3/16" through panel | 5/32" masonry bit in wall | Concrete block / stucco |
| Tapcon 1/4" × 3" | 1/4" through panel | 3/16" masonry bit in wall | Concrete block (large panels) |
| #10 × 3" structural screw | 1/8" pilot in panel | 1/8" pilot in wood stud | Wood frame with sheathing |
| 3/8" sleeve anchor | 3/8" through panel | 3/8" masonry bit in wall | Concrete block (heavy panels) |
Edge Distance and Spacing — Critical Rules
Anchor Spacing Requirements
Concrete Block vs Wood Frame — Completely Different Fasteners
Florida homes are predominantly concrete block (CBS — concrete block structure). Texas and other states often have wood frame. The fastener requirement is completely different. Using the wrong fastener for your wall type is dangerous.
🧱 Concrete Block / Stucco
- Use Tapcon concrete screws — 3/16" × 3" minimum
- Requires hammer drill — not optional, standard drills will not penetrate block
- Masonry bit must match Tapcon diameter exactly
- Drill depth = screw length + 1/4 inch extra
- Blow dust out of hole before driving screw
- Snug — do not overtorque, you will strip the anchor
- If screw spins freely: hole is stripped — move 2 inches and redrill
🪵 Wood Frame / Stucco Over Wood
- Locate studs first — anchors into studs only, not into sheathing alone
- Use #10 × 3" structural screws (not drywall screws)
- Standard drill works fine — no hammer drill needed
- Stud finder or knock-test to locate 16" on-center framing
- Pre-drill 1/8" pilot to prevent wood splitting
- Drive until snug — overtightening pulls the head through the panel
Step-by-Step Plywood Panel Installation
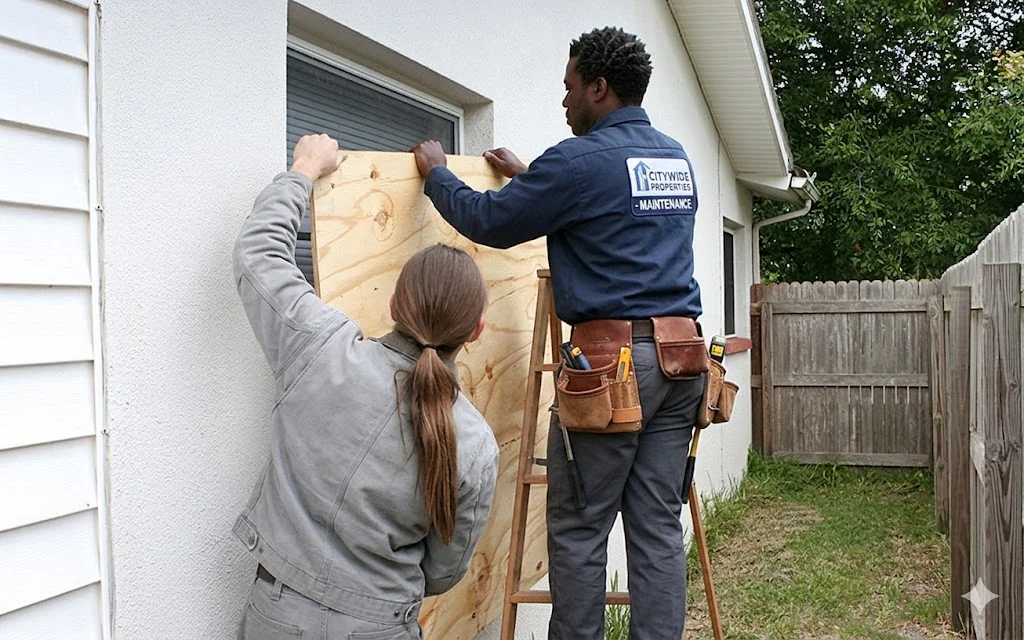
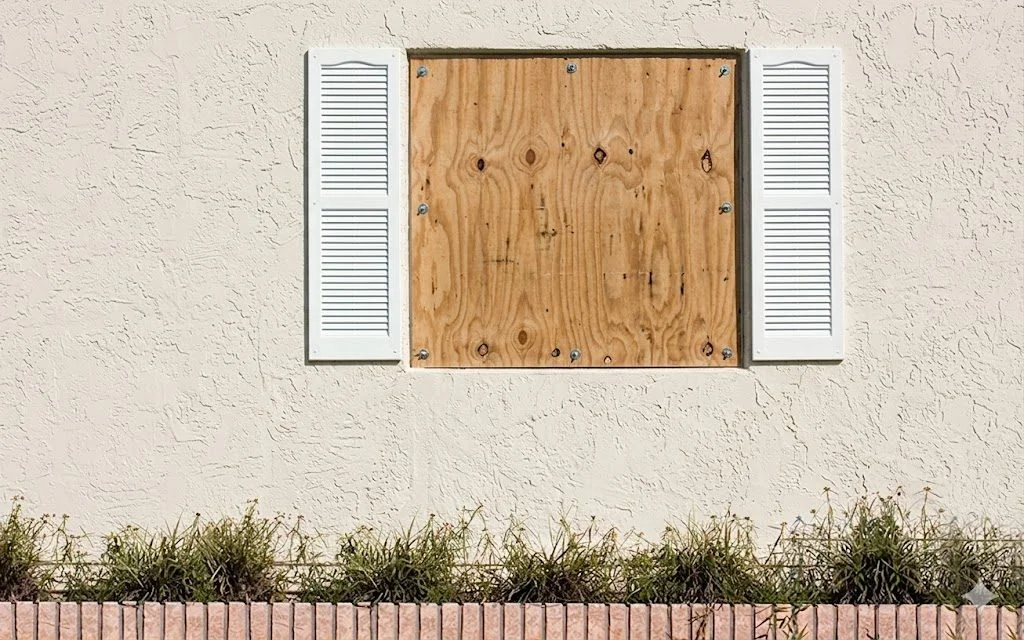
- Gather all materials before starting — pre-drilled panels (sorted by window label), hammer drill, masonry bits, Tapcon screws, flat washers, chalk, pencil. Once you start, stopping to find a tool costs 20 minutes.
- Start with the largest openings — garage doors and sliding doors are heaviest and most awkward. Do them while you have full energy and a full crew.
- Second person holds panel in position — pressed flat against the wall, centered over the opening, with equal overhang on all sides. Check level on large panels.
- Mark wall through panel holes — use a pencil or awl through your pre-drilled holes to transfer anchor positions onto the stucco. Remove panel.
- Drill all wall holes — use hammer drill with correct masonry bit. Drill each hole 1/4" deeper than your screw length. Vacuum or blow out dust from every hole.
- Reposition panel and drive all screws — place large flat washer under each screw head. Drive until snug — you should feel resistance, not just see the washer compress. Do not strip.
- Walk the perimeter and pull-test each anchor — grab the panel edge and pull firmly at each anchor location. There should be zero movement. Any loose anchor means a re-drill or longer screw.
- Seal all edges with silicone caulk — run a bead of clear silicone around the entire perimeter where the panel meets the wall. This is the difference between a dry interior and a flooded room during a major storm.
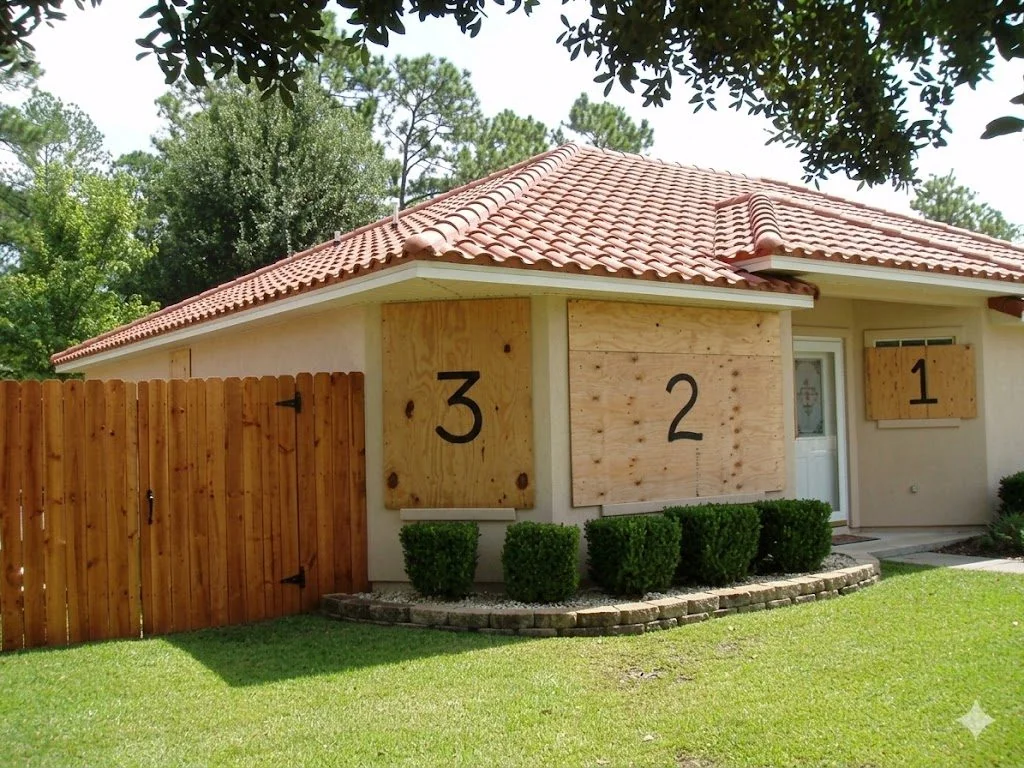
Washers, Torque, and Why Fastener Detail Matters
The washer is not optional. Hurricane suction loads act outward — the panel is being pulled away from the wall, not pushed into it. Without a washer, the screw head pulls straight through the plywood under that suction load. With a large washer, the load is distributed across a much larger area.
| Fastener Detail | Correct Spec | Why It Matters |
|---|---|---|
| Washer diameter | 1" OD minimum steel flat washer | Distributes suction load — prevents head pullthrough |
| Washer material | Steel or stainless (not plastic) | Plastic crushes under load, losing clamping force |
| Tapcon torque | Snug + 1/4 turn — feel the resistance | Overtorque strips masonry anchor — panel pulls free |
| Embedment depth | Minimum 1" into concrete block | Shallower = insufficient pullout resistance |
| Edge distance (wall) | 2" from any masonry edge or crack | Closer = block spalls, anchor pulls out |
Removal, Drying, Storage, and Reuse
- Remove within 48 hours — plywood that stays wet for more than 2 days swells, warps, and becomes extremely difficult to remove. The screw holes in the panel become elongated as the wood swells around them.
- Remove screws carefully — use an impact driver in reverse. Do not strip the Tapcon anchor holes in the wall — you need them for the next storm.
- Stack panels face-up on sawhorses — allow air to circulate under and over each panel. Never stack flat on the ground while wet.
- Inspect before storing — hold each panel up and sight down the long edge. Any panel with more than 1/4" bow is too warped for reliable reinstallation and should be replaced before next season.
- Check delamination — press on the panel face. If it flexes and you hear crackling, the plies are separating. That panel is structurally compromised — replace it.
- Store flat, labeled face-up — stack horizontally on a flat surface, not leaning against a wall (leaning causes warping). Place stickers between panels for airflow.
- Fill wall holes with exterior caulk — after removing panels, fill each anchor hole with exterior-grade caulk to prevent water intrusion during the off-season.
How Much Plywood Do You Need — Cost by Home Size
The most common question before a storm is "how many sheets and how much money?" Here is the honest math for Florida homes by size, using 5/8 inch CDX at 2026 prices.
| Home Size | Avg Windows/Doors | Sheets Needed | Materials Cost | Pro Install Cost |
|---|---|---|---|---|
| Small condo/apartment (2BR) | 4–5 openings | 3–4 sheets | $100–$180 | $400–$700 |
| Small home (3BR/1,200 sq ft) | 6–8 openings | 5–6 sheets | $175–$260 | $600–$1,100 |
| Average Florida home (3BR/1,800 sq ft) | 8–12 openings | 7–9 sheets | $245–$390 | $800–$1,600 |
| Large home (4BR/2,500 sq ft) | 12–16 openings | 10–13 sheets | $350–$560 | $1,000–$2,200 |
| Large home with garage door | 14–18 openings | 13–18 sheets | $455–$775 | $1,200–$3,000 |
OSB vs Plywood vs Polycarbonate — Which Should You Use?
When you walk into Home Depot before a storm, you will see CDX plywood, OSB (Oriented Strand Board), and sometimes polycarbonate sheets. Only one of them is the right choice for hurricane protection.
| Material | Storm Protection | Wet Weather Performance | Reusable? | Insurance Credit? | Cost |
|---|---|---|---|---|---|
| 5/8" CDX Exterior Plywood | Cat 1–2 adequate | Good — exterior glue | Yes, 2–3 seasons | No | $28–$42/sheet |
| 3/4" OSB | Similar to plywood | Poor — absorbs water fast | Limited — degrades quickly | No | $22–$35/sheet |
| Interior Plywood (avoid) | Fails under load | Very poor — delaminate | No | No | $18–$28/sheet |
| 1/2" Polycarbonate | Cat 1–2 adequate | Excellent — impermeable | Yes, many seasons | With NOA only | $45–$80/sheet |
| Storm panels (aluminum) | Cat 5 rated | Excellent | Yes — permanent | Yes — with permit | $1,500–$4,000 installed |
If you are using plywood as a temporary measure while you save up for a permanent solution, polycarbonate panels are the best upgrade — they protect the same openings, let in natural light, and last for many seasons. If you want a permanent code-compliant solution, aluminum storm panels are the most cost-effective approved option.
Plywood vs Storm Panels — When the Upgrade Makes Financial Sense
Many Florida homeowners use plywood for years before realizing that storm panels would have paid for themselves by now. Here is the honest 10-year math.
| Scenario | Year 1 Cost | 5-Year Cost | 10-Year Cost |
|---|---|---|---|
| DIY plywood (buy panels + fasteners) | $300–$550 | $450–$700 (replace warped panels) | $600–$1,000+ |
| Professional plywood boarding service | $800–$2,000 | $4,000–$10,000 | $8,000–$20,000 |
| Storm panels (installed, permitted) | $1,500–$4,000 | No additional cost | $1,500–$4,000 total |
| Accordion shutters (installed) | $6,000–$18,000 | No additional cost | $6,000–$18,000 total |
Plywood Hurricane Shutter — Complete Materials & Tools List
Enter your openings below. The calculator builds your full shopping list — plywood, Tapcon screws, washers, caulk, and every tool and bit you need.